[macOS] Install Seraph Secure Premium
Premium Feature
This is a Seraph Secure Premium feature. Learn more.
Install Seraph Secure Premium on macOS versions 10.15 or later.
You will need to Register for a Seraph Secure account to manage your devices.
Step-by-Step Download & Install Guide:
1. Sign in to your Seraph Secure Dashboard. Your dashboard is the place where you can manage your devices, subscription, and profile preferences.
2. You can add Seraph Secure to a device by clicking the green Add Device button.

3. You will be asked if you want to connect the device you are currently on or set up another device. Click on Connect this device.
Note: Choosing Set up another device will generate a share link that you will need to open on that device, but the steps that follow will be the same.

4. Give the device a name and click Continue. Note: This can be changed later.

5. Seraph Secure download should begin automatically. Locate the SeraphSecure.Setup.pkg file. In most browsers, you can locate the downward facing arrow in the top right corner (shown below). Click the file name to begin the install.

If you are having a hard time finding the file or if your browser does not have a downward facing arrow, you can also locate the file using Finder and clicking Downloads.

6. The Seraph Secure Installer should open. Follow the prompts in the installer window by clicking Continue and then Install.


7. Enter your password or fingerprint when prompted. Once the installation finishes, you should see The installation was successful.


8. You will need to grant the following system permissions:
Accessibility: Allows Seraph Secure to detect scam websites in your browser.
Full Disk Access: Allows Seraph Secure to search for hidden remote connection programs on your computer.
Please note: Information unrelated to scams is not stored per our Privacy Policy.
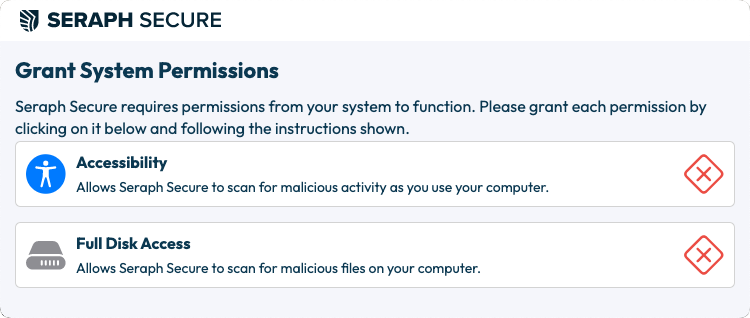
Click on the Accessibility button. This will open your System Accessibility window. Click the toggle to turn it on.

Click on the Full Disk Access button. This will open your System Full Disk Access window. Click the toggle to turn it on.

9. Seraph Secure will ask you to accept the Terms of use. Click Accept & continue.
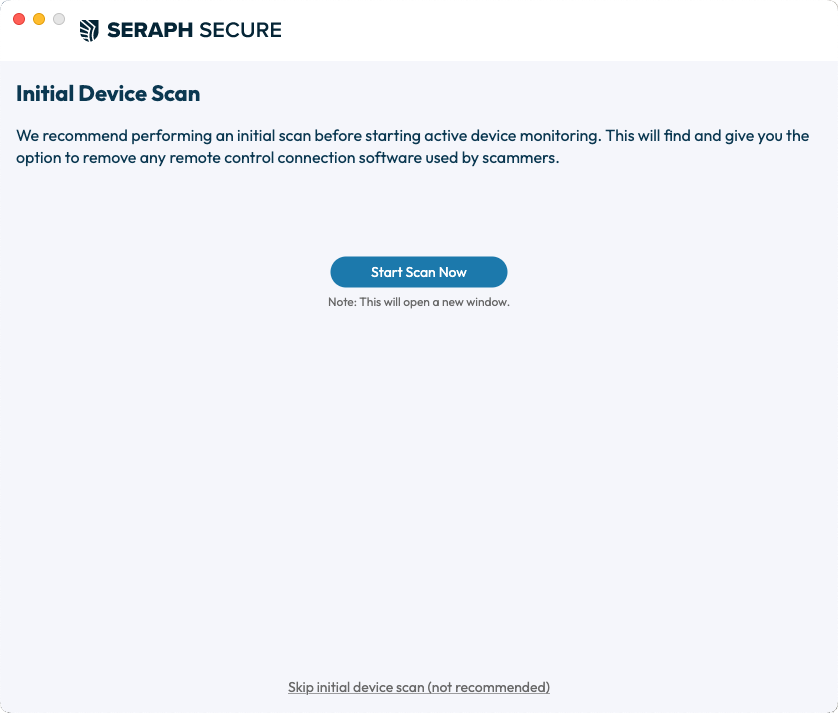
10. You will then have the option to run an Initial Device Scan. It is recommended to run this scan on install to check your device for any existing remote connection software.
If any remote connection programs are found, you can easily remove them by clicking Neutralize at the bottom of the scan window.
Click on Start Scan Now and then Continue to begin the scan.
11. Seraph Secure will open once the scan is complete. You will see Device Protection Running. The green check marks in the Premium Features box indicate that you are running the Premium version of Seraph Secure.
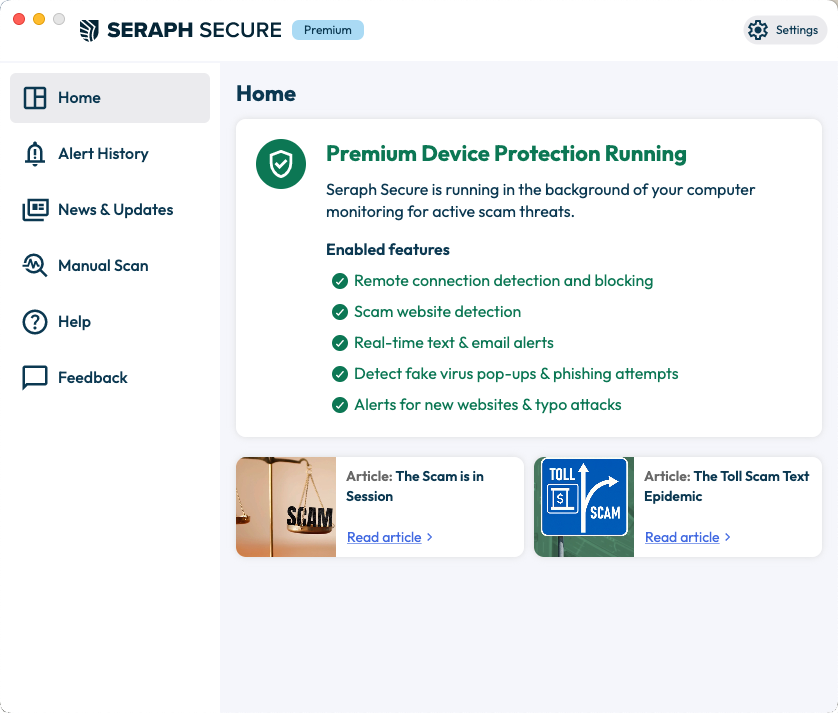
Closing the window will minimize Seraph Secure to your menu bar, but it will continue to run in the background of your device and actively monitor for scam threats.
